
Last Updated: November 19, 2026
Quick Summary
The best automotive primers for collision repair are chosen by substrate: two-part epoxy for bare metal and corrosion resistance, urethane for sanding and topcoat buildup, and polyester for heavy fill work. Many shops apply epoxy first for adhesion, then urethane for the sanding and leveling stage.
- Epoxy goes directly on bare metal; urethane and polyester go over epoxy, never straight onto bare steel or aluminum.
- Wash, degrease, abrade, and tack off before any primer touches the panel.
- Cold booth temperatures stretch flash and cure times, so follow the product data sheet rather than a fixed clock.
- Check a primer's VOC content against the limit your state or local air district enforces.
- Date every container on arrival and retire opened hardener on schedule before it fails to cure.
Table of Contents
- Quick Comparison: Best Automotive Primers for Collision Repair
- Best Automotive Primer for Bare Metal: Etching and Epoxy Options
- Epoxy vs Urethane Primer for Collision Repair: Which Chemistry Wins
- Best Practices for Automotive Surface Preparation
- Automotive Primer Drying Times: Flash Time, Cure, and Sanding Windows
- Primer Compatibility, VOC Rules, and Shelf Life: What Shops Overlook
- Choosing Your Primer for the Damage in Front of You
- Stocking Your Primer Shelf with Speedokote
- Frequently Asked Questions
Quick Comparison: Best Automotive Primers for Collision Repair
Choosing the best automotive primers for collision repair comes down to matching chemistry to substrate: epoxy for bare metal and corrosion resistance, urethane for sanding and topcoat flow, polyester for heavy fill work. Speedokote supplies fillers, primers, spray equipment, and protective coatings to collision shops and mobile refinishers.
The stakes are higher than most painters admit. Collision-repair workers face a wide array of chemical and physical hazards on the job, according to the Collision Auto Repair Safety Study published in the Journal of Occupational and Environmental Hygiene, which makes proper product handling and ventilation part of primer selection, not an afterthought.
| Primer Type | Best For | Key Strength | Watch Out For |
|---|---|---|---|
| Epoxy | Bare metal, structural panels | Corrosion resistance, adhesion | Longer cure before sanding |
| Urethane | Sanding, topcoat buildup | Easy block sanding, flexible | Needs a proper substrate |
| Polyester | Heavy fill, rough bodywork | High-build filling power | Shrinkage if applied too thick |
Best Automotive Primer for Bare Metal: Etching and Epoxy Options
The best automotive primer for bare metal is a two-part epoxy, applied over properly cleaned steel or aluminum. Epoxy forms a direct chemical bond and seals the surface against moisture, which is why we steer most bare-metal collision work toward it rather than a rattle-can etch primer.
Etch primers still have a place. They work well on small exposed areas and aluminum where a thin, fast-drying coat is enough. But for panels that will see road salt and weather, epoxy is the more durable base.
Epoxy vs Urethane Primer for Collision Repair: Which Chemistry Wins
Epoxy wins on bare metal and corrosion protection; urethane wins on sandability and topcoat flow. That is the short answer to the epoxy vs urethane primer for collision repair question, and it holds for most production shops.
Epoxy is a two-part system with a catalyst that crosslinks into a hard, moisture-resistant film. It does not sand as easily, so painters use it as a foundation coat, not a build coat.
Where Polyester Primer Fits
Polyester primer is the heavy filler of the primer family. It builds fast and covers coarse bodywork, but it shrinks if laid on too thick. Use it for rough repairs, then finish with urethane before topcoat.
Best Practices for Automotive Surface Preparation
Surface prep decides whether your primer lasts; the product only performs as well as the substrate beneath it. Wash, degrease, abrade, and clean again before any primer touches the panel.
Step 1: Wash and Degrease
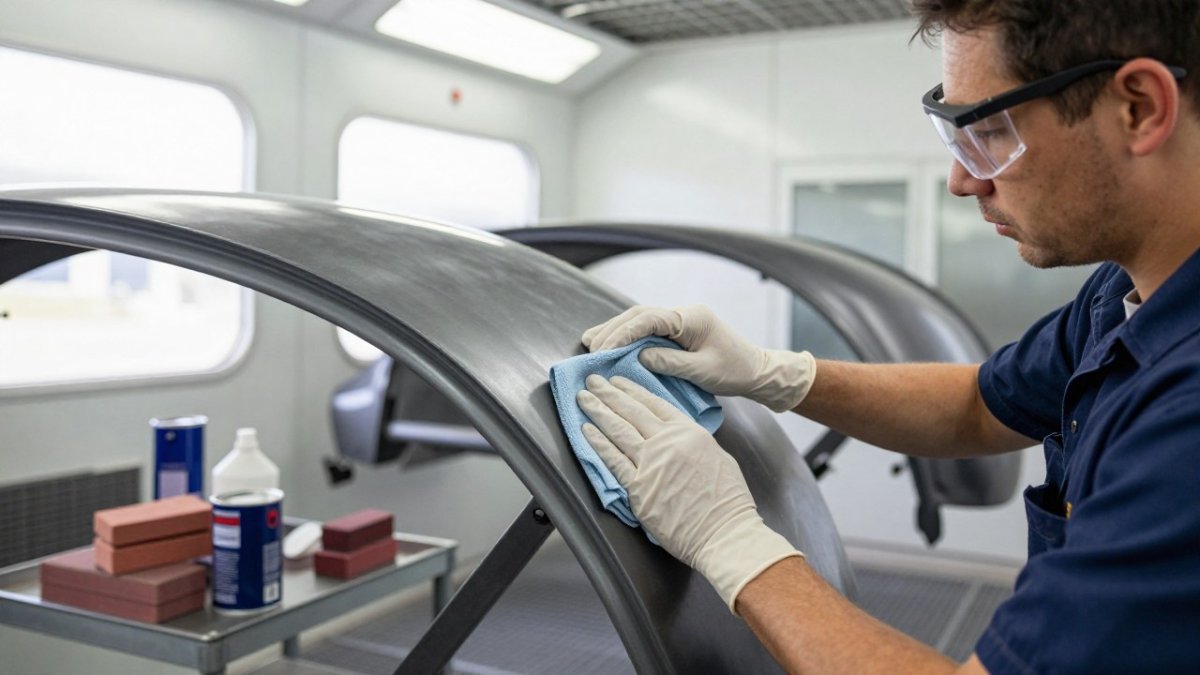
Road film, silicone from previous repairs, and shop dust all prevent primer from bonding. Wash the panel with a mild detergent to remove road film, rinse, and dry. Then wipe with a wax and grease remover using two cloths, one wet with the solvent, one dry, flipping and replacing cloths often so you are not smearing contaminants back onto the panel.
Step 2: Abrade for the Substrate
Grit choice depends on what you are sanding. A common starting range:
- Bare steel and aluminum: 80 to 180 grit to remove rust, mill scale, and oxidation, then refine to the primer manufacturer's recommended profile.
- Cured OEM paint: 320 to 400 grit to scuff the surface and give the primer a mechanical key without cutting through to bare metal.
- Body filler: 180 to 320 grit to shape and feather-edge, followed by a finer pass to remove scratches.
Abrading does two jobs: it removes the weak outer layer and it creates a profile the primer can grip. Skipping the profile step is why some primers peel in sheets even when the chemistry is correct.
Step 3: Clean Again and Tack Off
After sanding, blow out dust from seams and edges with compressed air, then tack off the panel with a tack cloth. This is the step painters skip when they are behind schedule, and it is the one that shows up later as pinholes and nibs under topcoat.
Watch out: a tack cloth that has dried out or picked up grit will scratch the panel, replace it, do not reuse it.
Step 4: Mask and Set Up the Booth
Mask edges, trim, and adjacent panels before spraying to keep overspray off surfaces you already finished. Confirm the booth is at the temperature and ventilation the primer's data sheet calls for; cold panels and poor airflow both stretch flash times and trap solvent.
Step 5: Spray a Consistent Coat
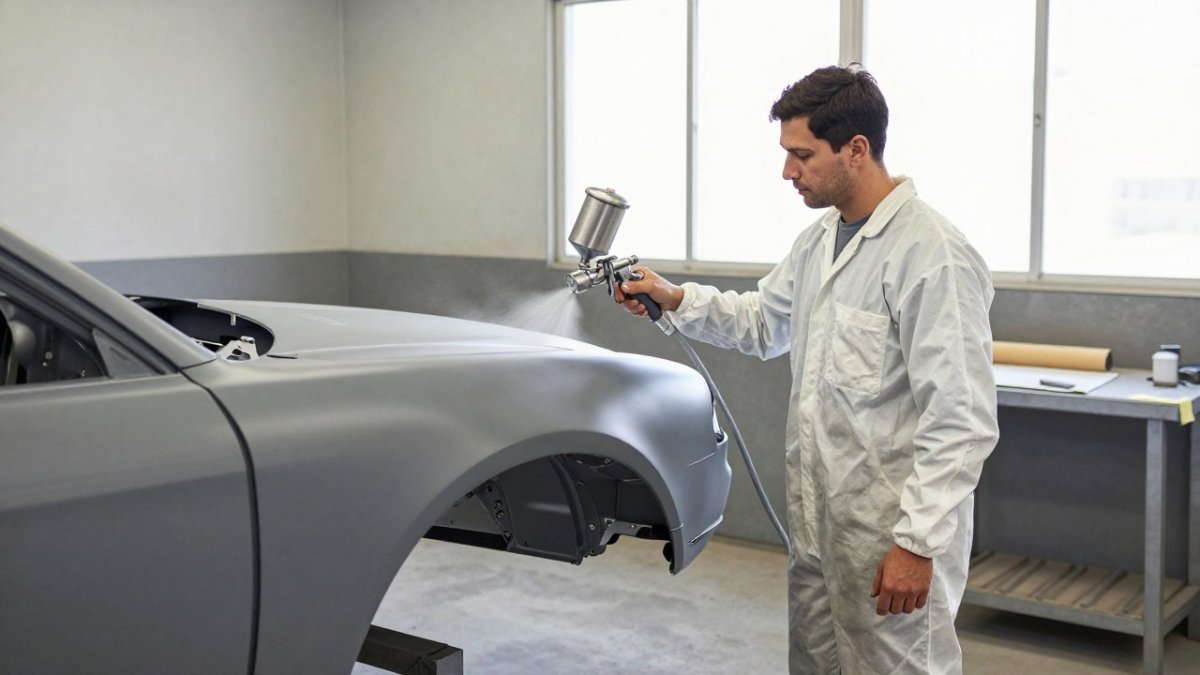
Keep the spray gun at a consistent distance and overlap each pass by roughly half the fan width for an even film. Inconsistent distance is the most common cause of dry spray and uneven build, and it shows up as sanding scratches that will not block out.
A spot panel sprayed before the full repair can reveal adhesion and sanding behavior before committing to the whole job.
Automotive Primer Drying Times: Flash Time, Cure, and Sanding Windows
Automotive primer drying times depend on chemistry, temperature, and film thickness, so always follow the product data sheet rather than a fixed clock.
Cold booth temperatures stretch every stage. Warm, well-ventilated booths shorten them, but never rush a coat that still smells of solvent. Sanding too early clogs paper and smears the film; sanding too late means fighting a rock-hard surface.
Primer Compatibility, VOC Rules, and Shelf Life: What Shops Overlook
Compatibility and compliance are where careful shops separate from rushed ones. Three things sink a primer job that looked fine on the panel: the primer does not match the topcoat system, the solvent load exceeds the VOC limit your air district enforces, or the hardener sat on the shelf past its useful life. Each is preventable with a checklist.
Primer-to-Substrate Compatibility Matrix
Use this as a starting point, then confirm against the product data sheet, because formulations vary by brand.
| Substrate | Epoxy | Urethane (2K) | Polyester | Etch Primer | Notes |
|---|---|---|---|---|---|
| Bare steel | Yes, preferred base | Over epoxy only | Over epoxy only | Yes, thin coat | Epoxy first for corrosion protection |
| Bare aluminum | Yes | Over epoxy only | Not recommended | Yes, per spec | Etch chemistry is common on aluminum |
| Galvanized steel | Yes, after abrading | Over epoxy only | Not recommended | Check spec | Abrade and degrease; avoid direct polyester |
| Cured OEM paint | Yes, after scuff | Yes | Spot fill only | No | Scuff and clean before either |
| Plastic bumper covers | Flexible primer required | Flexible primer required | No | No | Use a dedicated plastic adhesion promoter |
| Fiberglass / SMC | Yes | Yes | Yes | No | Follow gelcoat prep steps |
| Body filler (polyester) | Yes, as sealer | Yes | No | No | Epoxy seals filler pinholes |
Two rules cover most of the table. Epoxy goes directly on bare metal; urethane and polyester go over epoxy, never straight onto bare steel or aluminum. And any flexible plastic part needs a flexible primer, a rigid epoxy alone will crack at the first flex.
VOC Rules That Affect Primer Choice
Solvent-based primers are regulated by VOC content, and the limits are not uniform across the country.
Practically, this means the primer that works in one shop may be non-compliant a few hundred miles away.
Watch out: buying a compliant primer but thinning it with a non-compliant reducer can push the sprayed film over the limit, mix only with the reducer specified for that system.
Shelf Life and Storage
Primer components do not last forever, and hardeners are the first to go. Most two-part epoxy and urethane hardeners have a shelf life measured in months once opened, and moisture or temperature swings accelerate degradation.
Storage practices that protect inventory:
- Keep containers sealed and store them off the floor, away from temperature swings and direct sunlight.
- Date every container when it arrives and rotate stock so older product is sprayed first.
- Store hardeners and catalysts separately from pigments and resins, and never decant hardener back into the original can.
- Check the product data sheet for the manufacturer's stated shelf life and storage temperature range; those numbers vary by chemistry.
A common pattern in busy shops is stretching old hardener to finish a job. The short-term savings rarely survive the rework when the film fails to cure.
Choosing Your Primer for the Damage in Front of You
Match the primer to the repair, not to habit. A scuffed bumper cover, a rusted rocker panel, and a dented door each call for a different approach, and the best automotive primers for collision repair are the ones that fit the job in front of you.
- Light scuffs and sand-throughs: urethane primer over a sound substrate.
- Bare metal and rust repair: epoxy first for corrosion resistance.
- Heavy bodywork and coarse filler: polyester to build, urethane to finish.
- Plastic bumper covers: a flexible primer designed for plastic, never a rigid epoxy alone.
When in doubt, test a small area first. A spot panel tells you more about adhesion and sanding behavior than any spec sheet.
Stocking Your Primer Shelf with Speedokote
A well-stocked primer shelf keeps a collision shop moving, and Speedokote supplies the fillers, primers, spray equipment, and protective coatings that keep repair orders flowing.
For a small shop or a mobile operation, the right supplier is the one that stocks what you actually spray.
The real test of any primer is how it holds up months after the repair leaves the booth.
Frequently Asked Questions
What is the best primer for car body repair over body filler?
Over body filler, a urethane or high-build primer works best because it sands smooth and fills sanding scratches without shrinking. Epoxy bonds tightly to bare metal and filler but cures hard and resists sanding, so many shops use epoxy as a base coat and urethane as the sandable build layer. Check the filler manufacturer's data sheet for the approved primer before you spray, and keep the primer within its recoat window so the layers bond properly.
Which is better, epoxy or urethane primer?
Epoxy wins on bare metal and corrosion resistance because it seals the substrate and blocks moisture. Urethane wins on sandability, build, and topcoat flexibility. For collision repair, the common approach is epoxy over bare metal, then urethane or polyester for build, then a sealer before color. Your choice depends on the substrate and how much sanding the panel needs, not on one primer being universally better.
How many coats of primer are needed for collision repair?
Most collision panels need two to three coats of primer to reach the film build the product data sheet specifies, usually measured in mils. High-build primers may need three to four coats to fill repair areas, while epoxy sealers often need only one or two. Spray light, even passes and check mil thickness with a gauge rather than counting coats, because film build, not coat count, controls adhesion and sanding results.
Does automotive primer need to be sanded before painting?
Yes, in almost every case. Sanding knocks down orange peel, removes dust nibs, and gives the topcoat a mechanical grip. Block sand urethane and polyester primers with 400 to 600 grit, and use finer grit on epoxy only after it fully cures. Wipe the panel with a tack cloth and a compatible cleaner before sealer or color, and stay inside the primer's recoat window so the topcoat bonds.
What is the best automotive filler primer for deep scratches?
A high-build urethane or polyester primer is the best filler primer for deep scratches and minor dents. These products build thick films that sand level and hide 80-grit scratches. Polyester primer builds the fastest but needs a catalyst and extra sanding. Apply two to three coats, let it cure per the data sheet, then block sand with 180 to 320 grit until the repair is level before moving to finer grits.
