Product Description
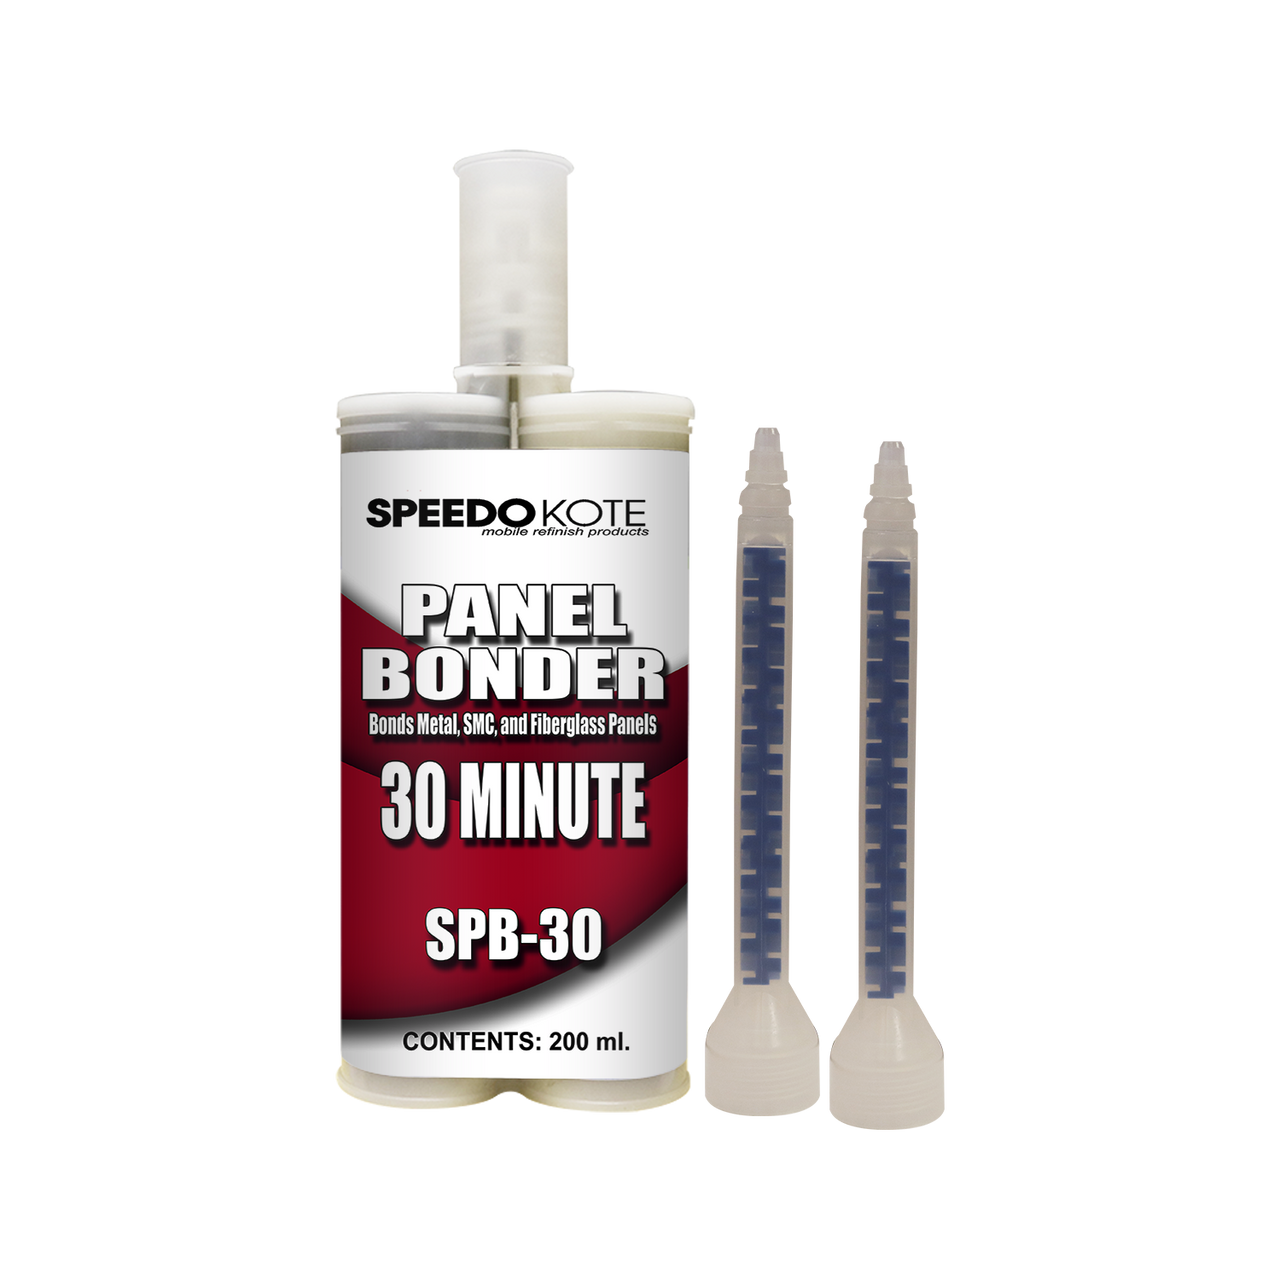
Panel Bonding Adhesive, 2 Component, 200 mL Cartridge with 2 tips, SPB-30
PANEL REMOVAL Remove damaged panel from vehicle. Be careful not to cut into adjacent panels, mating flanges or reinforcements.
SURFACE PREPARATION: (Inner Panel) Remove all adhesive, sealants and foams using a surface disc. Grind the mating areas with 80 grit. Surface must be cleaned to bare metal. Straighten all damaged metal. Dry fit the new panel for proper fit. (New Panel) Clean the bonding areas of the new panel with wax & grease remover before prepping surface. Using a coarse surface prep disc, remove E-coat from all areas to be bonded. Grind the mating areas with 80 grit. Dry fit the panel. Clamp the part in place and check for proper fit and alignment. Adjust the clamps for proper tension. Remove the new panel.
PRODUCT / PACKAGE SET-UP: Static mix cartridge must be equalized before use. Gun out a test bead to check for proper mixing before applying to panels. APPLYING PANEL BONDING ADHESIVE: Clean all the surfaces to be bonded with wax & grease remover and allow to thoroughly dry. Force dry with clean air source and a blow gun. Run a generous bead of Panel Bonder that will be sufficient to cover the entire bonding area of both panels. Spread the adhesive out to cover all bare metal to a thickness of at least 1/16” on each panel.
INSTALLING THE NEW PANEL: Fit the panel immediately. Slide the panel for proper fit and alignment. Do not separate the two panels. Position and install the clamps approximately 10-12” apart. Screws may be used in areas where clamps can not be installed. Remove any excess bonding adhesive with a squeegee, spreader or clean dry cloth.
CLEAN-UP: Panel Bonder can be wiped off using a clean dry cloth and a wax & grease remover or general purpose solvent before it cures. STORAGE: Panel Bonder should be stored in a cool, dry area. To ensure maximum shelf life, store below 73˚F (23˚C) or refrigerate. It should not be exposed to conditions of elevated temperatures for long periods of time. Contents may prematurely age react if exposed to temperatures in excess of 120˚F (49˚C). Note: Allow to cured a minimum of 24 hours before going through a paint booth bake cycle.
SPB-30 SPB-60
Open Time 30 Minutes 60 Minutes
Work Time (Repositioning Time) 15 Minutes 60 Minutes
De-Clamp Time 4 Hours 4 Hours
Full Cure Time 24 Hours 24 Hours
HEALTH & SAFETY See Safety Data Sheet and labels for additional safety information and handling instructions. • The contents of this package may have to be blended with other components before the product can be used. Before opening the packages, be sure you understand the warning messages on the labels and SDSs of all component, since the mixture will have the hazards of all its parts. • Improper handling and use, for example, poor spray technique, inadequate engineering controls, and or lack of Personal Protective Equipment (PPE), may result in hazardous conditions or injury. • Follow spray equipment manufacturer’s instructions to prevent personal injury or fire. • Provide adequate ventilation for health and fire hazard control. • Follow company, product MSDS and respirator manufacturer’s recommendations for selection and proper use of respiratory protection. Be sure employees are adequately trained on the safe use of respirators per company and regulatory requirements. • Wear appropriate PPE such as eye and skin protection. In the event of injury, see first aid procedures on SDS. • Always observe all applicable precautions and follow good safety and hygiene practice.


